
I started my sourdough journey for the bread, but I’m staying for the crackers.
These crackers specifically.
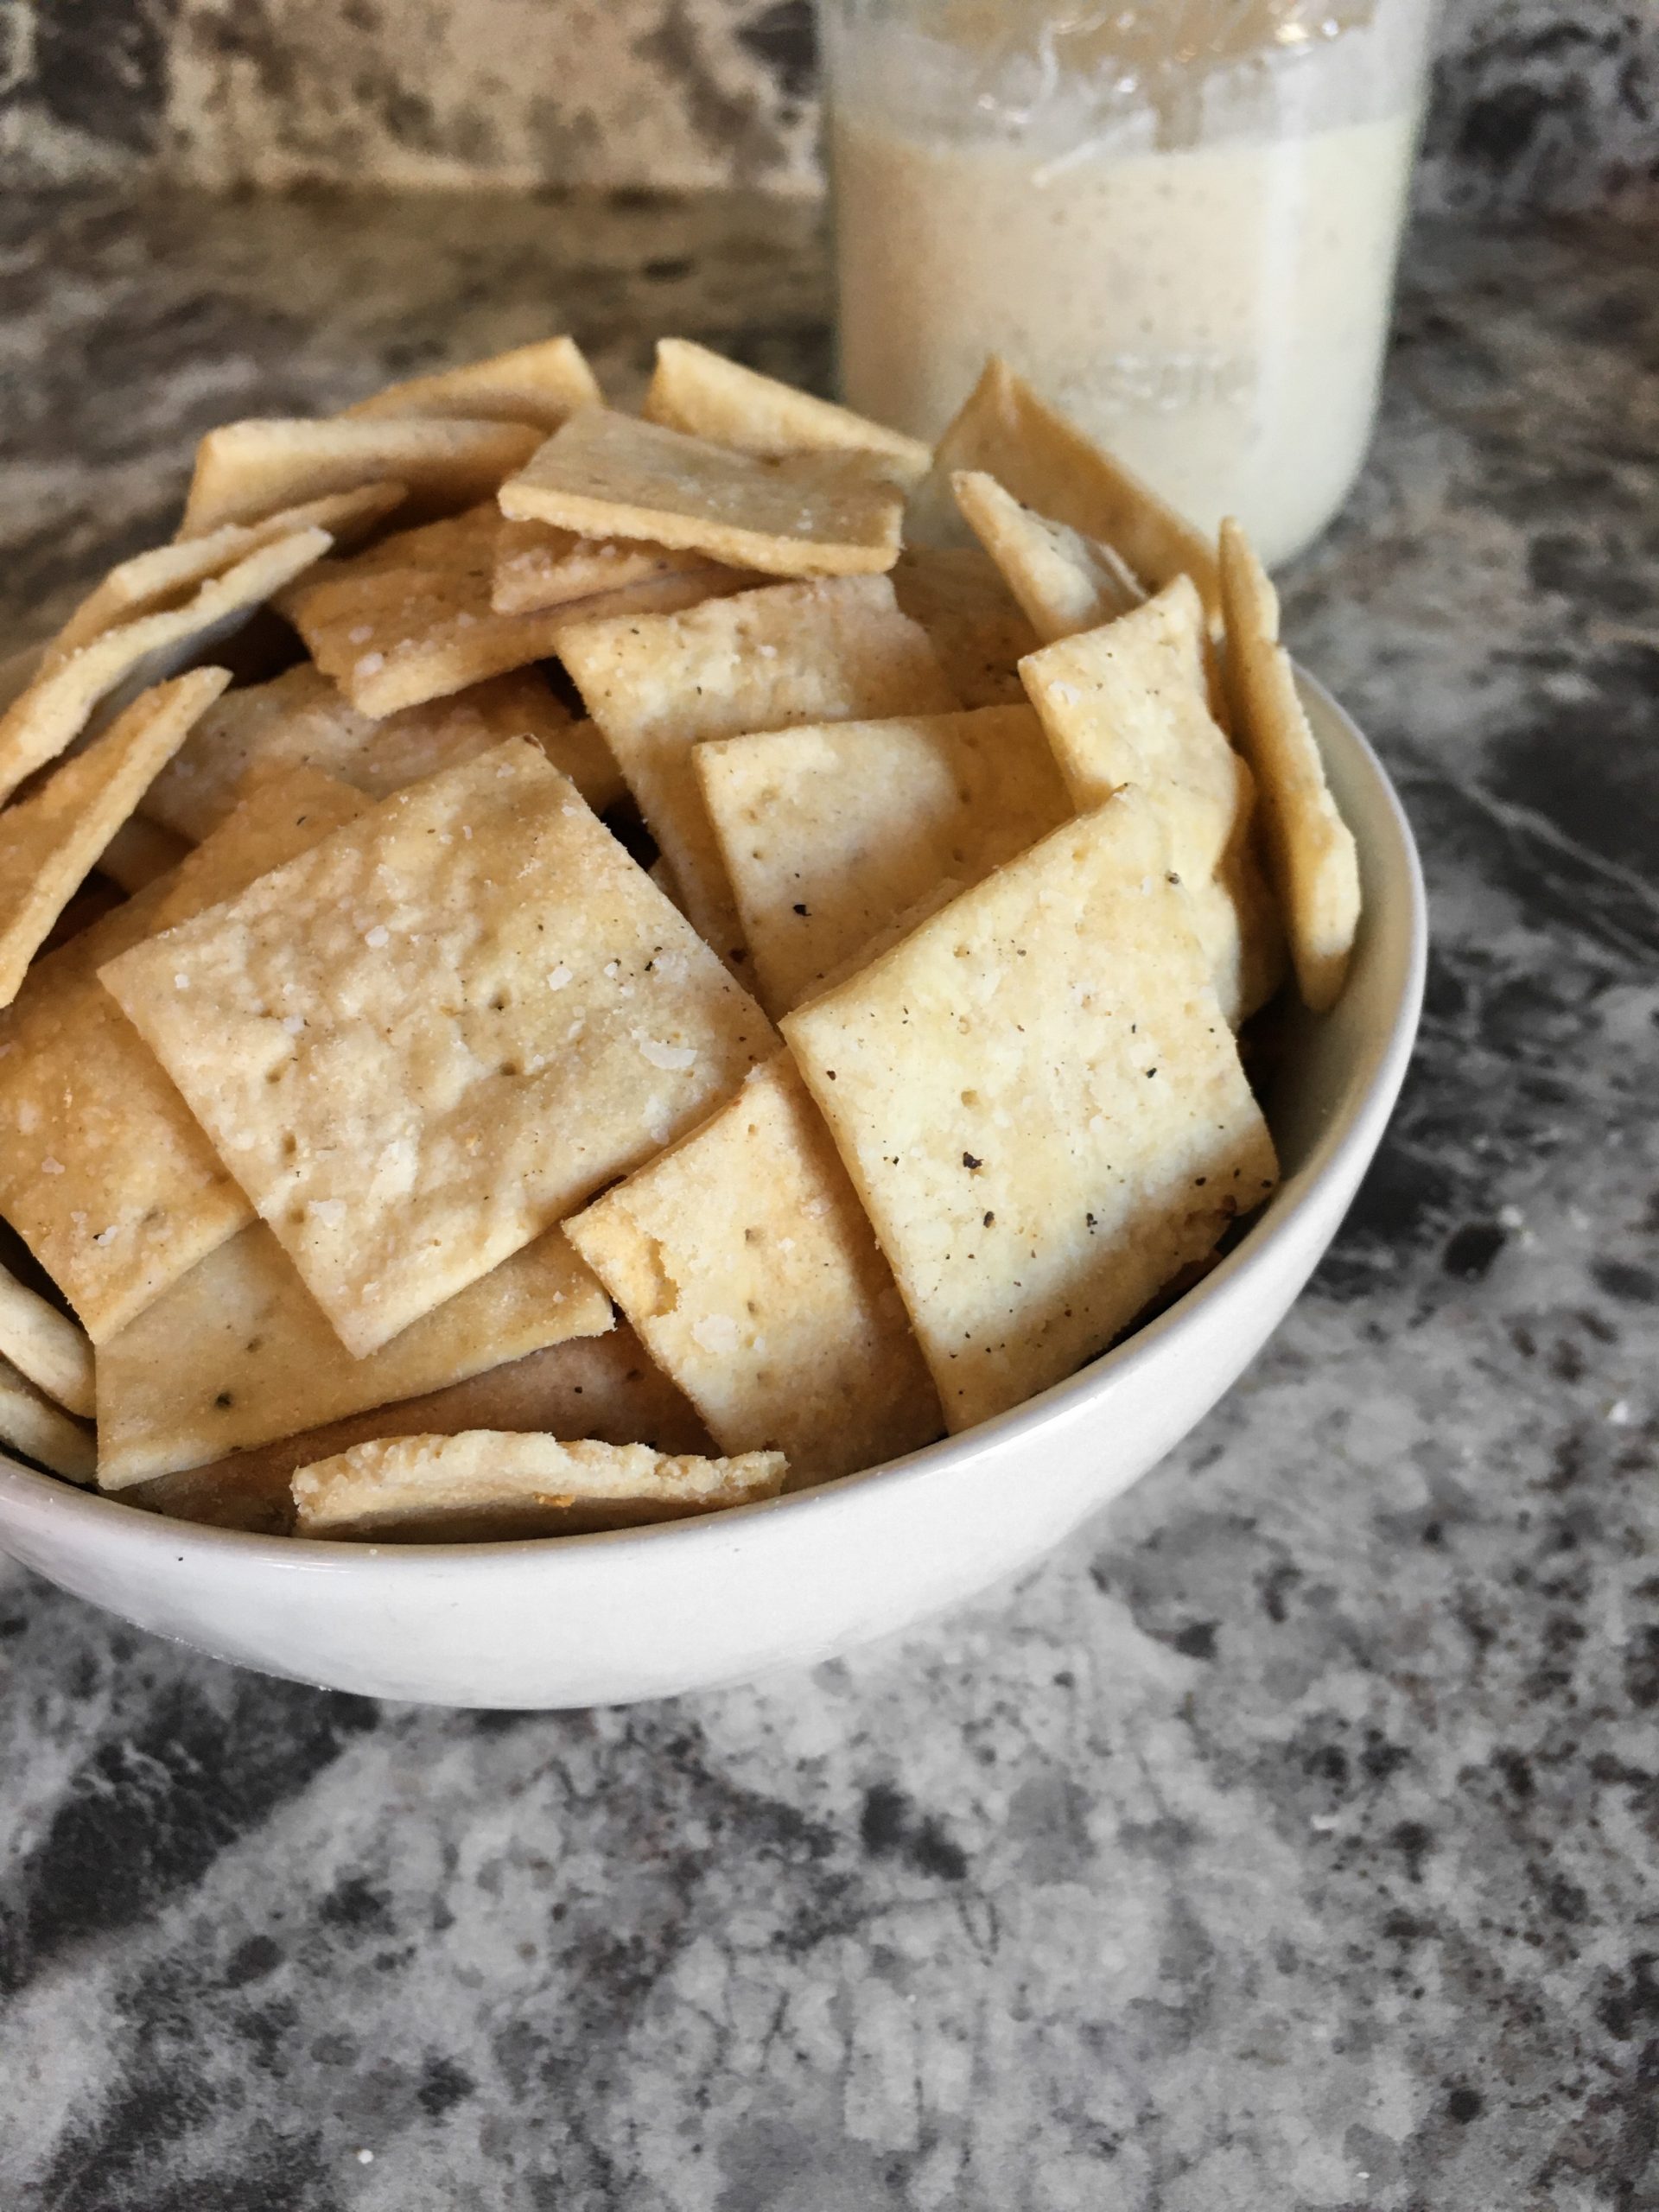
They’re light and flakey and buttery.
I could probably (definitely) eat an entire batch by myself in one sitting.
So, without further ado, Salt and Pepper Sourdough Discard Crackers.
(This is adapted from a King Arthur Flour cracker recipe. You can find the original here.)
Salt & Pepper Sourdough Discard Crackers
Ingredients:
1 cup all purpose flour
1/2 teaspoon coarse salt, plus more for sprinkling on top
1/4 teaspoon fresh cracked black pepper, plus more for sprinkling on top
1 cup sourdough starter
6 tablespoons room temperature butter, divided
Directions:
- Combine flour, 1/2 teaspoon salt, 1/4 teaspoon black pepper, sourdough starter, and 4 tablespoons butter using a fork until it resembles coarse crumbs. Then work it into a dough using your hands.
- Divide dough into two even portions and shape into rectangles about 1/2 an inch thick.
- Wrap in plastic wrap and refrigerate at least 30 minutes, up to overnight.
- When ready to bake, preheat oven to 350*F and melt remaining two tablespoons of butter.
- Remove one portion of dough from refrigerator and lightly flour a piece of parchment paper, rolling pin, and the top of your dough.
- Roll dough out to 1/16th of an inch or slightly less.
- Transfer dough and parchment paper to a baking sheet.
- Repeat steps 5 through 7 for second portion of dough.
- Brush the tops of the dough with melted butter and sprinkle lightly with more salt and pepper.
- Using a pizza cutter or fluted pie cutter, cut dough into one inch squares.
Pro tip: You do not need to space these out on your baking sheet. They will shrink slightly as they bake. - Prick each cracker with a fork a couple times.
- Bake crackers for 15 minutes, then rotate the pans top to bottom and stir the crackers (they don’t need to be flipped, just moved around so they bake evenly). Let bake another 10 minutes, or until they’re turning slightly golden around the edges.
Pro tip: I like slightly over cook mine, because I like the extra toasty flavor (think extra toasty Cheez Its). - Remove from oven and let cool slightly before transfering to a rack to cool completely.
- Store in an airtight container. They’ll probably stay fresh about a week, but I doubt they’ll be around that long…